This is a gallery!
Photos are taken using my Sony α6400.
This page will mostly contain images. You can click on the photos to zoom in, or open them in a new tab (or save them to your machine).
Do note that these full-res photos can be up to
6000x4000in size and can reach up to 20MB. If you’re on a metered connection, this may be an important consideration. The thumbnails are compressed for your browsing.Feel free to download these photos! These are under the WTFPL.
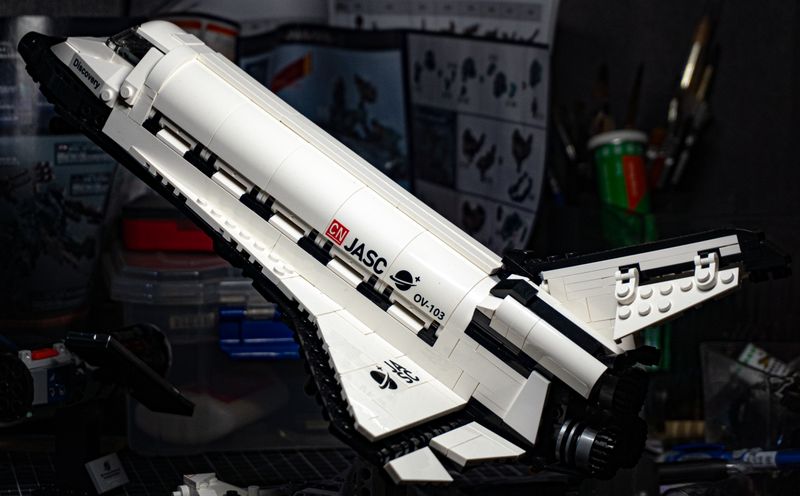
Some build details
- Build time: ~6 hours
- Parts: 954 pieces advertised
Review
- Most parts fit well, none were too loose nor too tight.
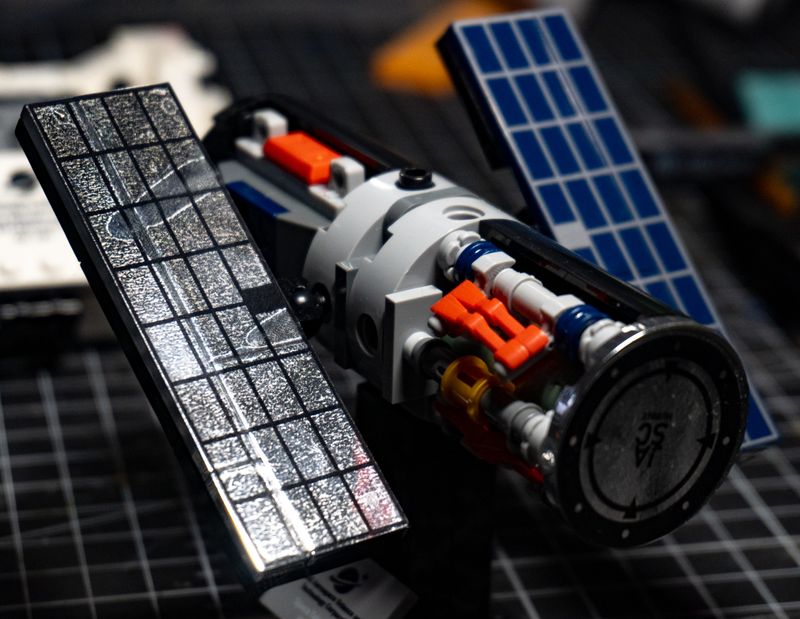
- Not a fan of stickers. Sadly had to put some on the Hubble statuette. The chrome plating of the bricks do not mesh well with the sticker, as shown.
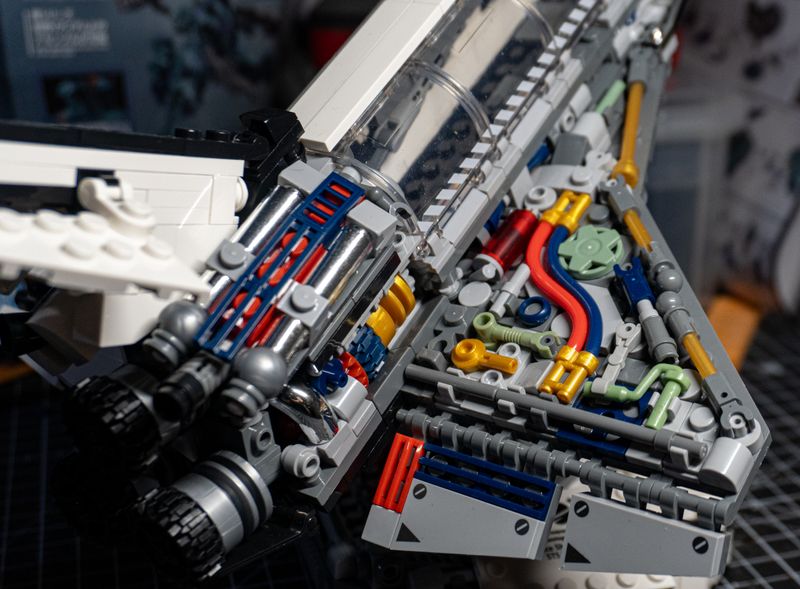
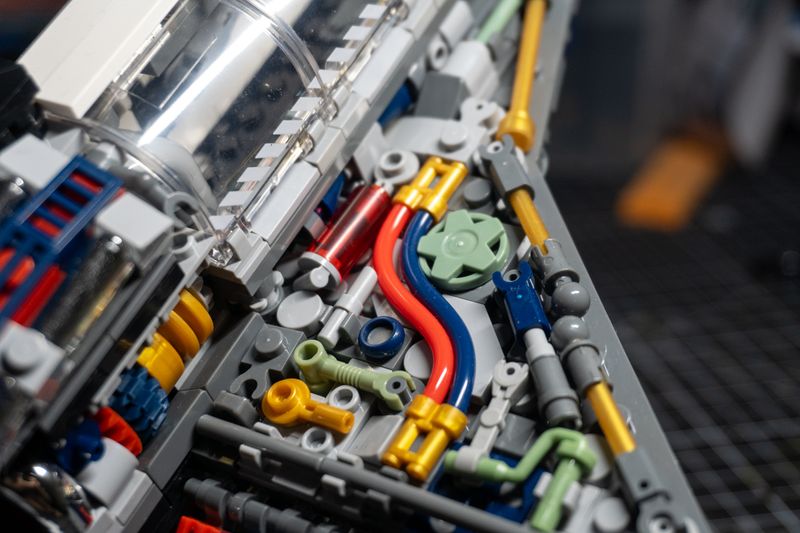
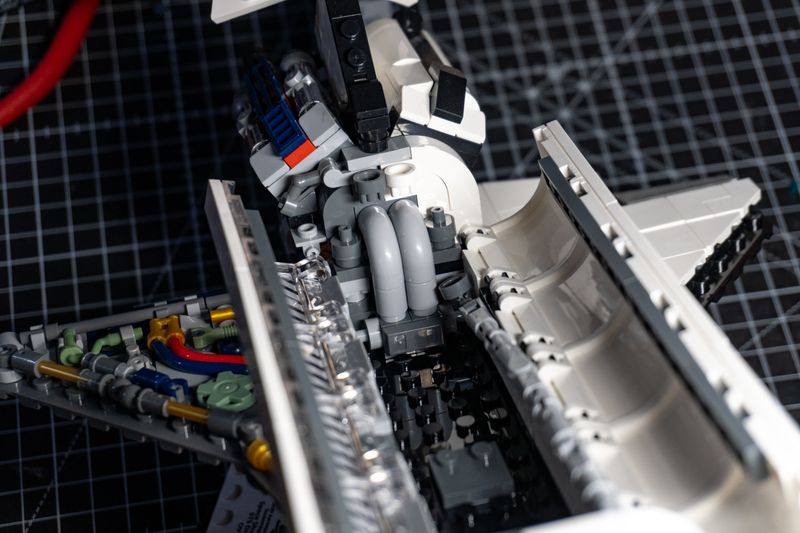
- Flexible tubing on the wing section were a bit finnicky to work with, definitely the most challenging part of the build.
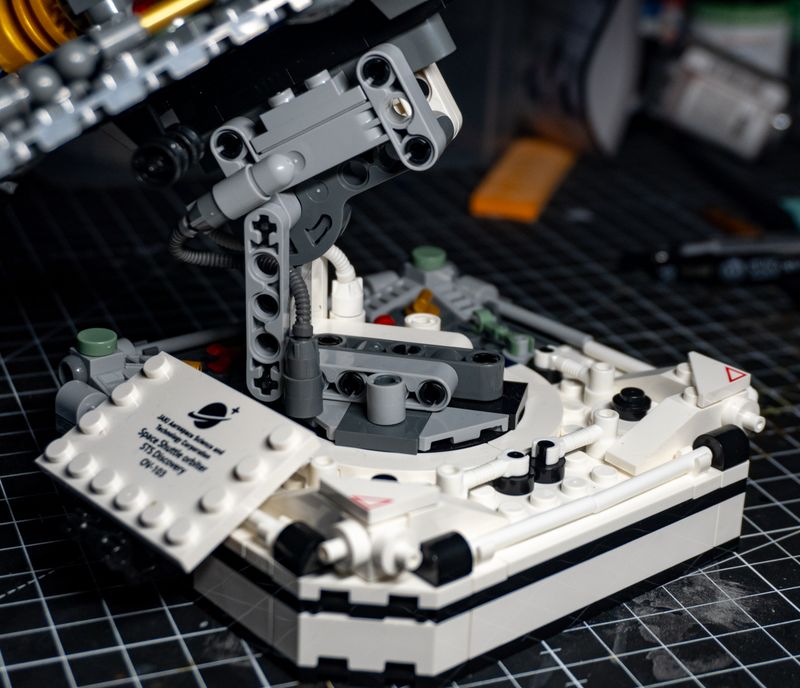
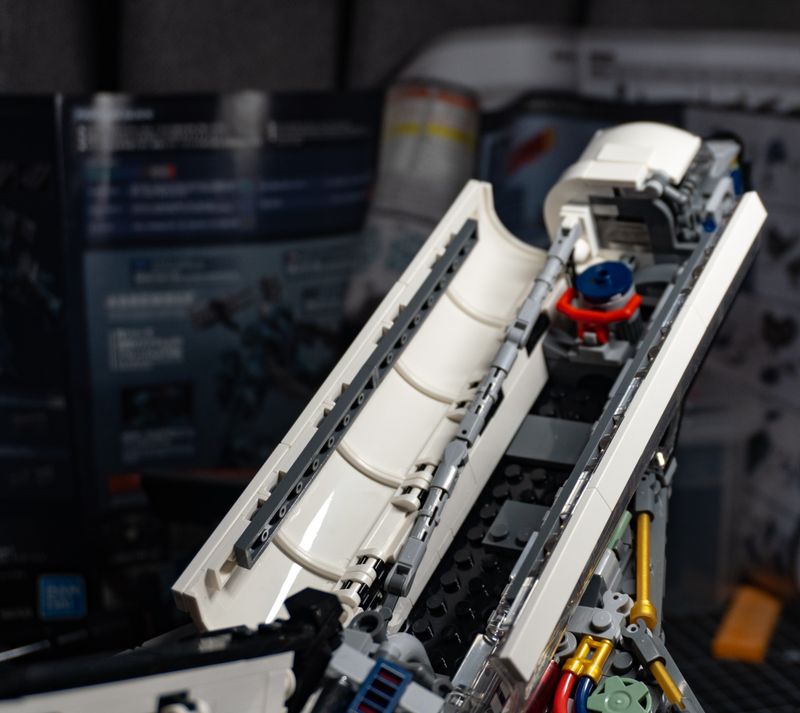
- The armature inside the cargo bay is supposed to hold up the Hubble statuette, but is too weak to support its weight.
- I was missing a small 1x2 diagonal part, and was provided a 1x2 curved part instead. Not noticeable, but departs from the manual.
- There’s a degree of articulation for all control surfaces, as well as minimal gimbal on the thrusters.
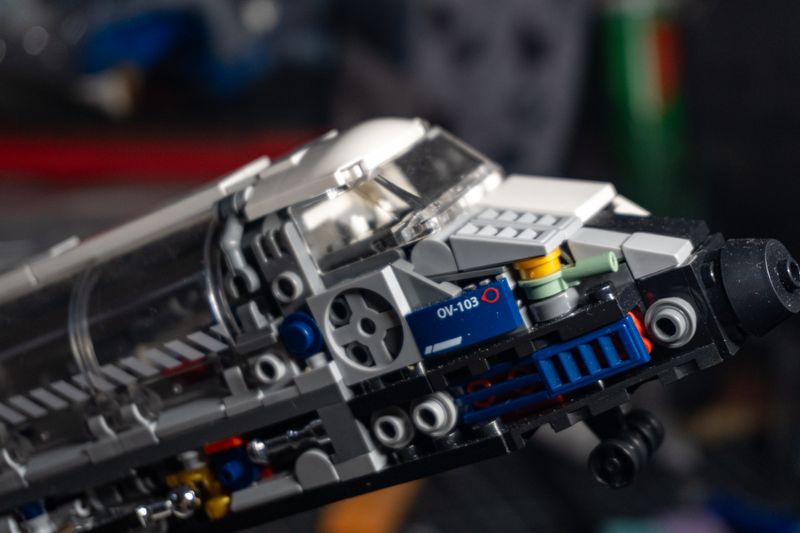
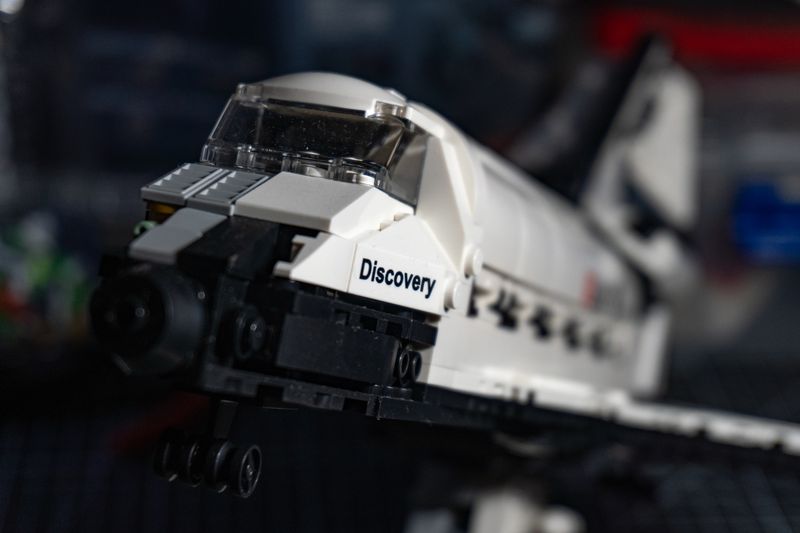
- Landing gear isn’t detailed, but can be placed wherever you want as the baseplate is mostly flat and blank. Chose to place mine nearer to the nose tip (to be more accurate with the real shuttle).
- Way more difficult than the Long March 5 model. Since most sections are interdependent, and the shuttle baseplate lacks stability which only gets built upon on the later steps (leading to unintentional disassembly for e.g. wings).